Homemade is better! Our Favorite Cinnamon Play-Doh
By special request! Sharing our homemade Play-Doh recipe.
We’ve been making this for years, and have experimented with lots of DIY recipes. We’ve trial-and-error-ed over the years to create this one! Coconut oil gives it a great texture and cinnamon gives it a great scent. (Hooray! Play-Doh that doesn’t smell and feel disgusting! The opposite of store-bought!)

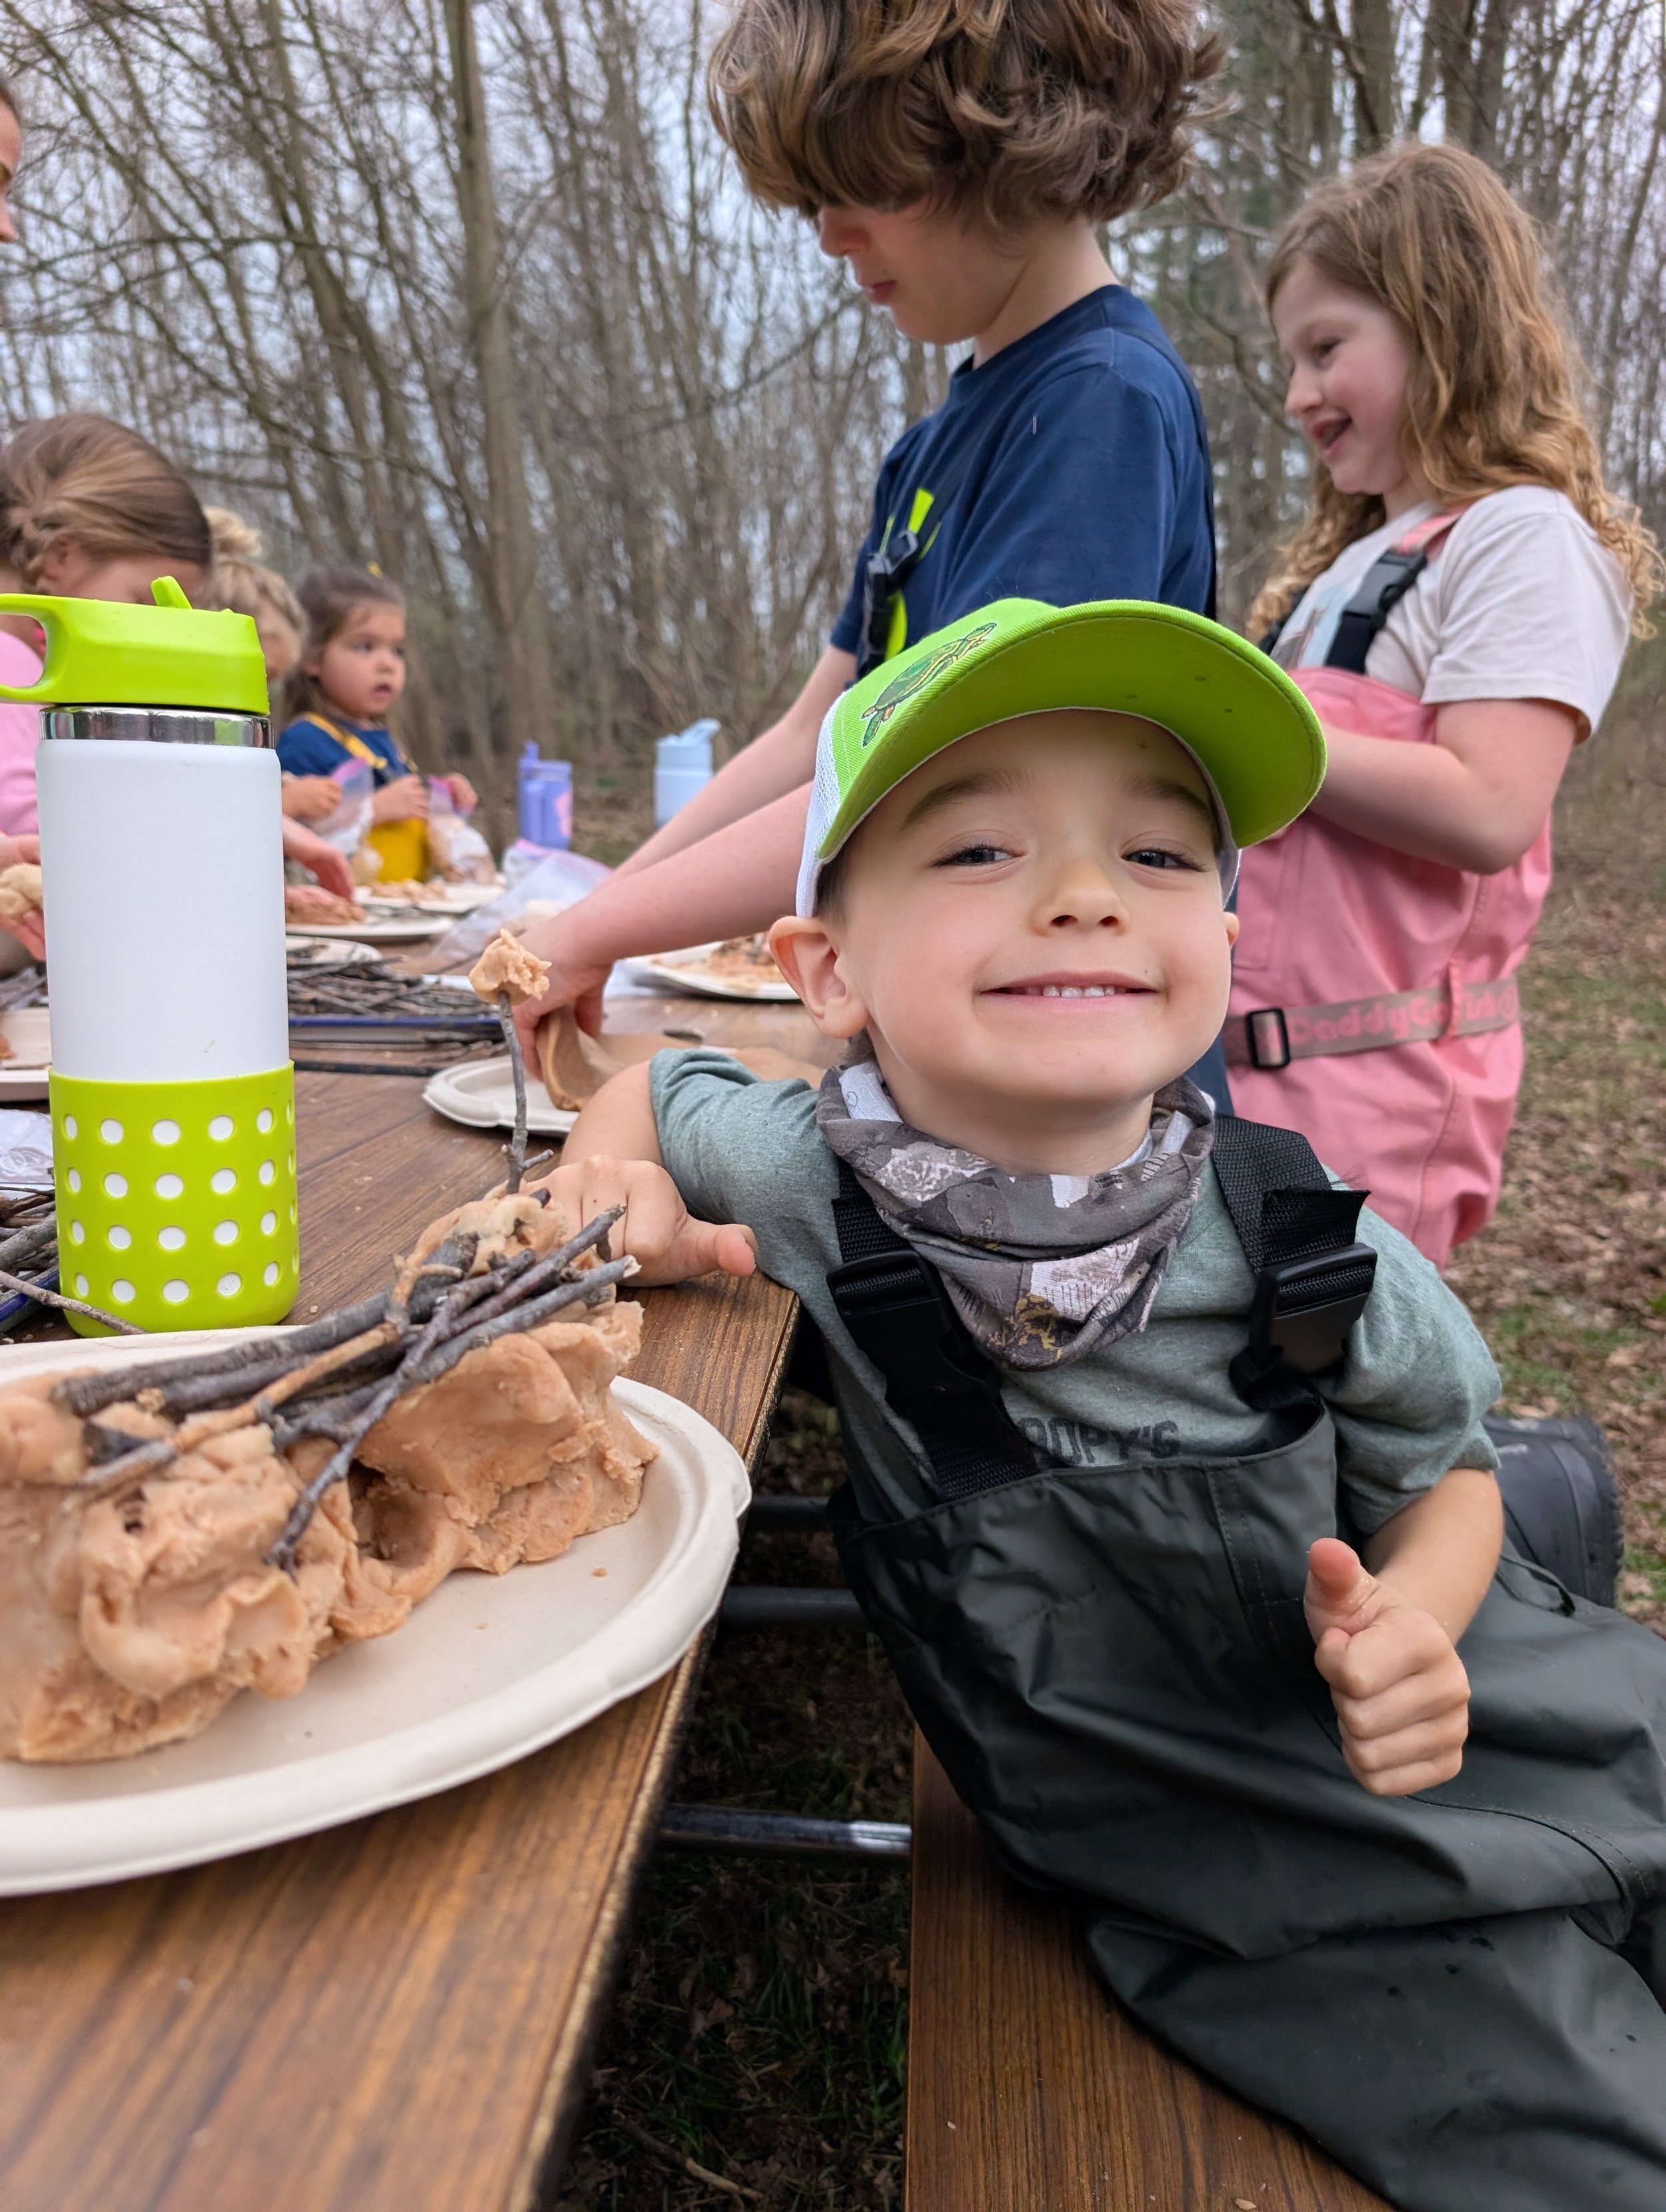
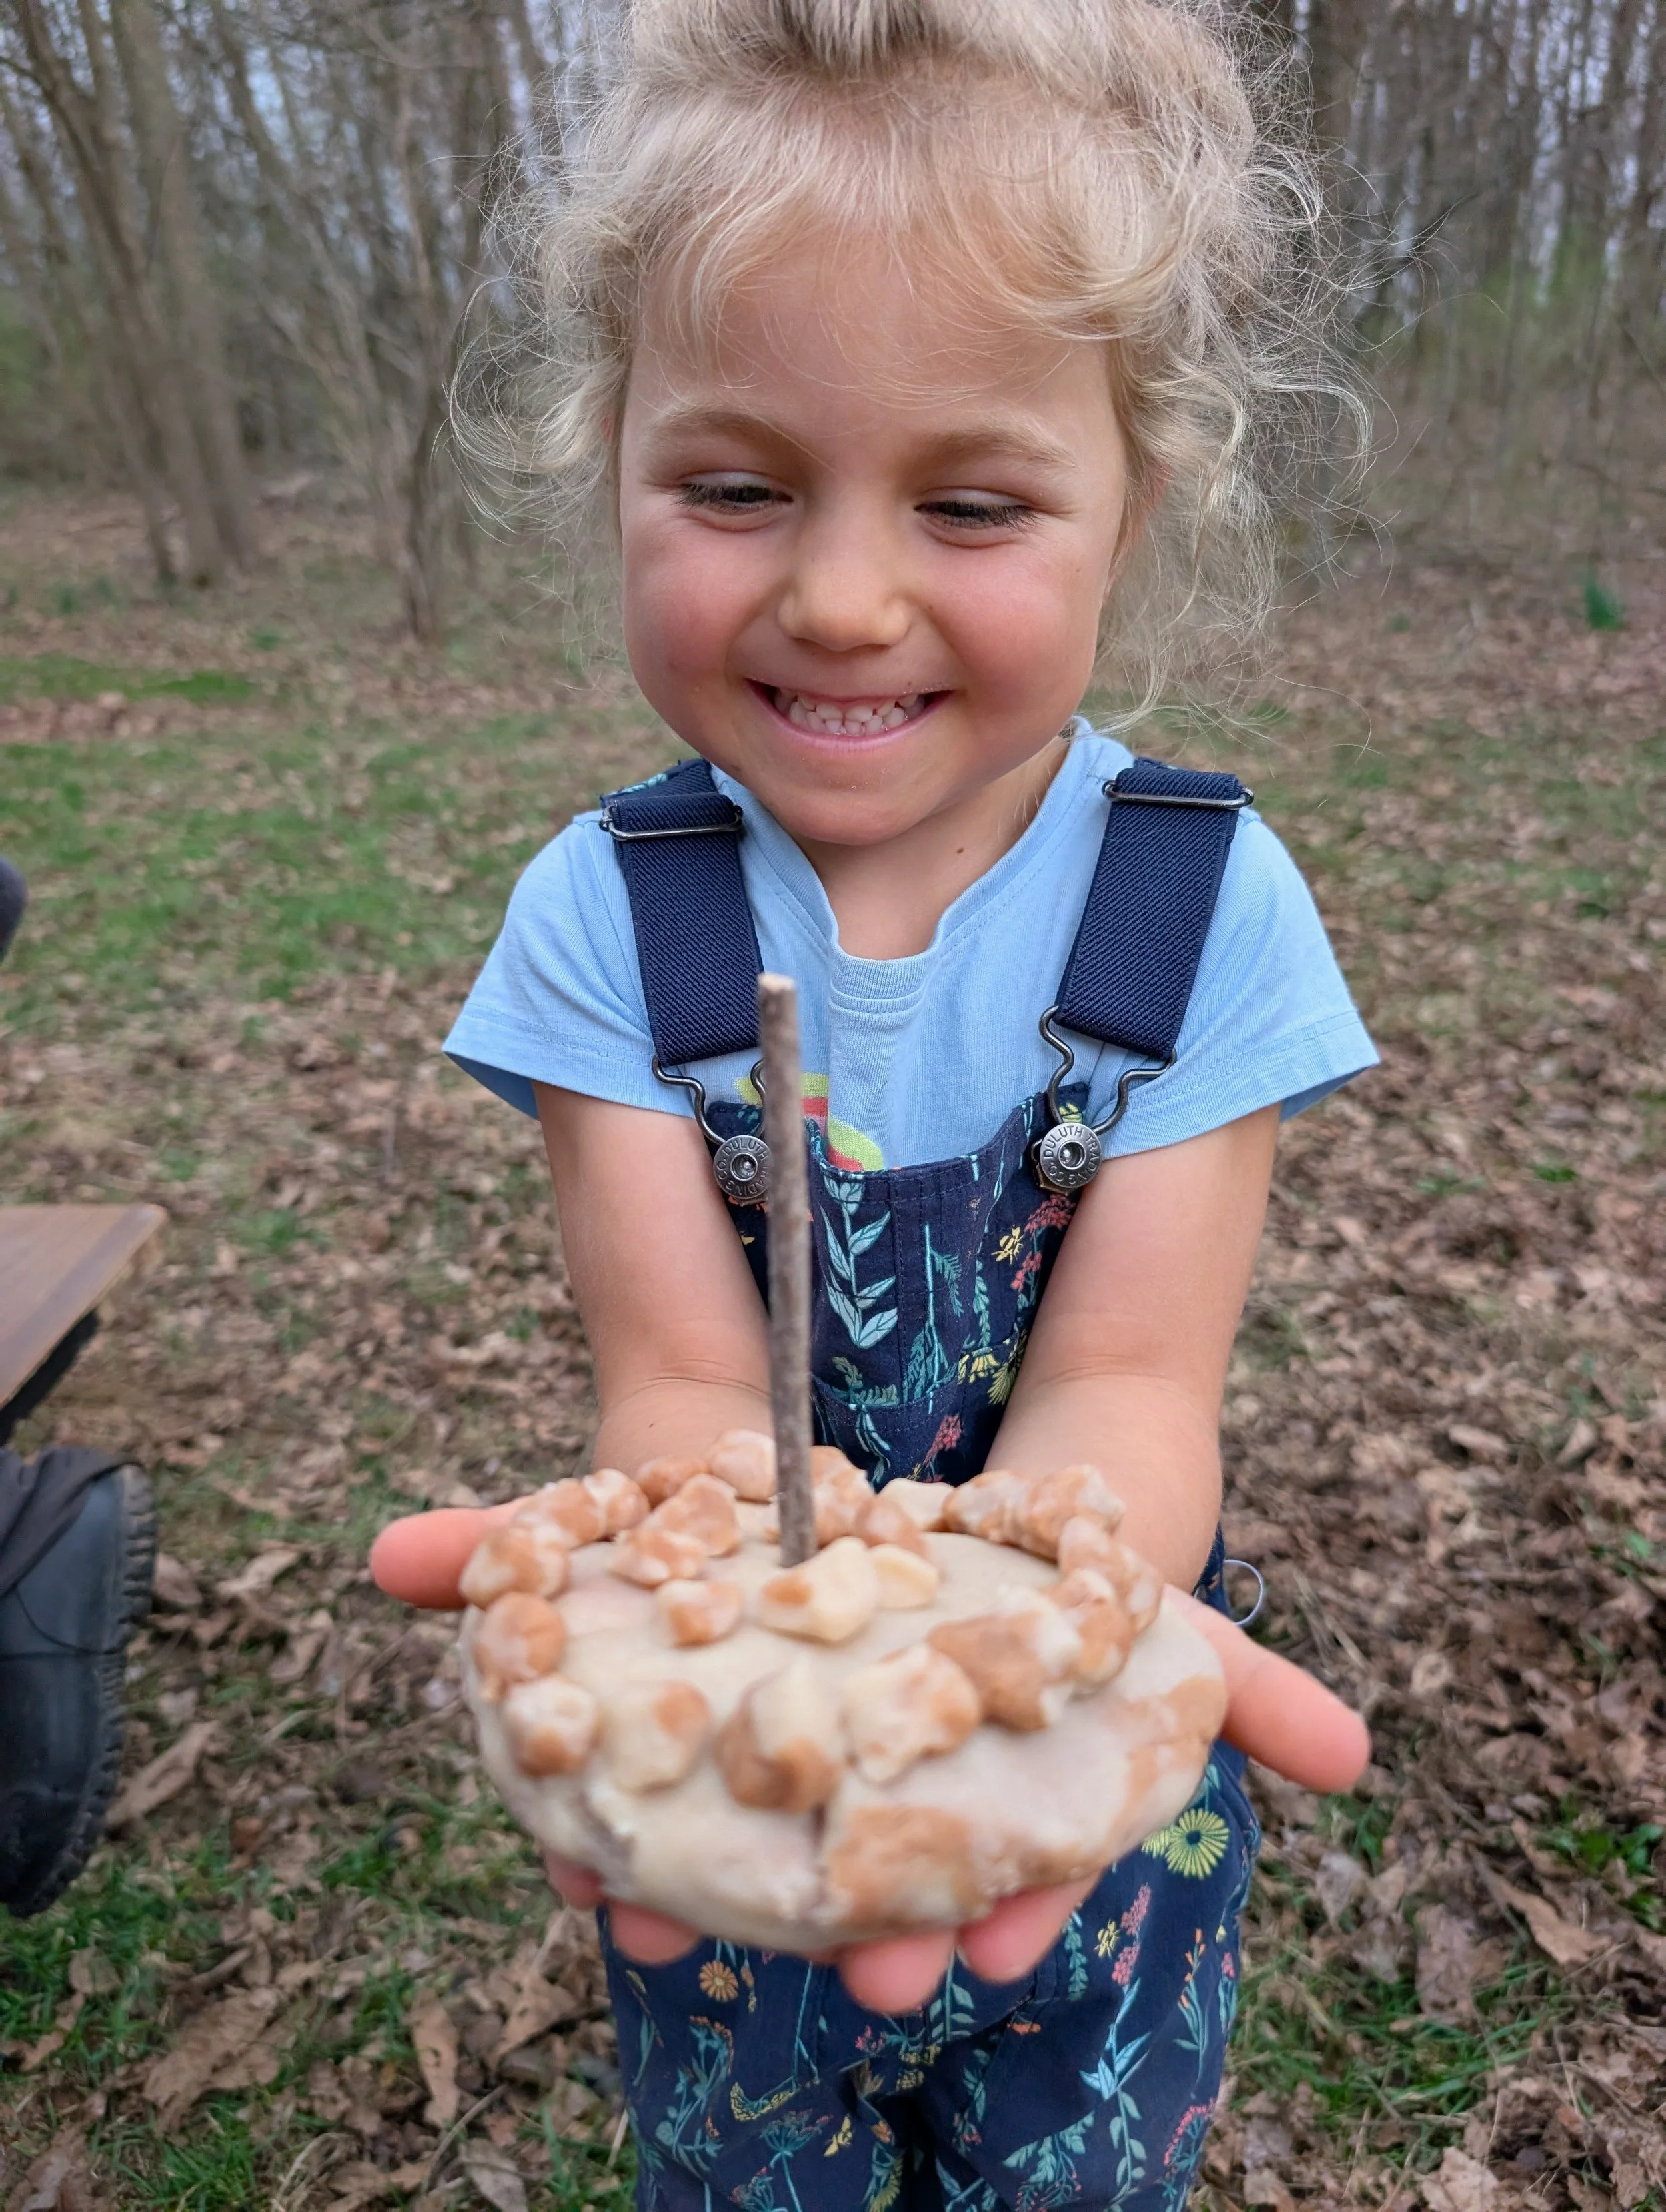
Bringing this to nature school was a complete hit! Each child received a plate to use as a base and two lumps of different colored dough. (I used different quantities of cinnamon to dye batches dark and light.) We also set the table with trays of twigs and small sticks - the tools for the day!
It was amazing to see how each child brought such a different approach. Sticks became rolling pins. Lincoln Log homes took shape. As did snowmen, fences, birthday cakes, and volcanos. Shelters (with lids!) hid imaginary creatures. Tacos abounded! There was even “chicken on a stick!” The beauty of open ended play was on full display.
This recipe whips up quickly, making it easy to include little helpers!
Cinnamon Play-Doh Recipe
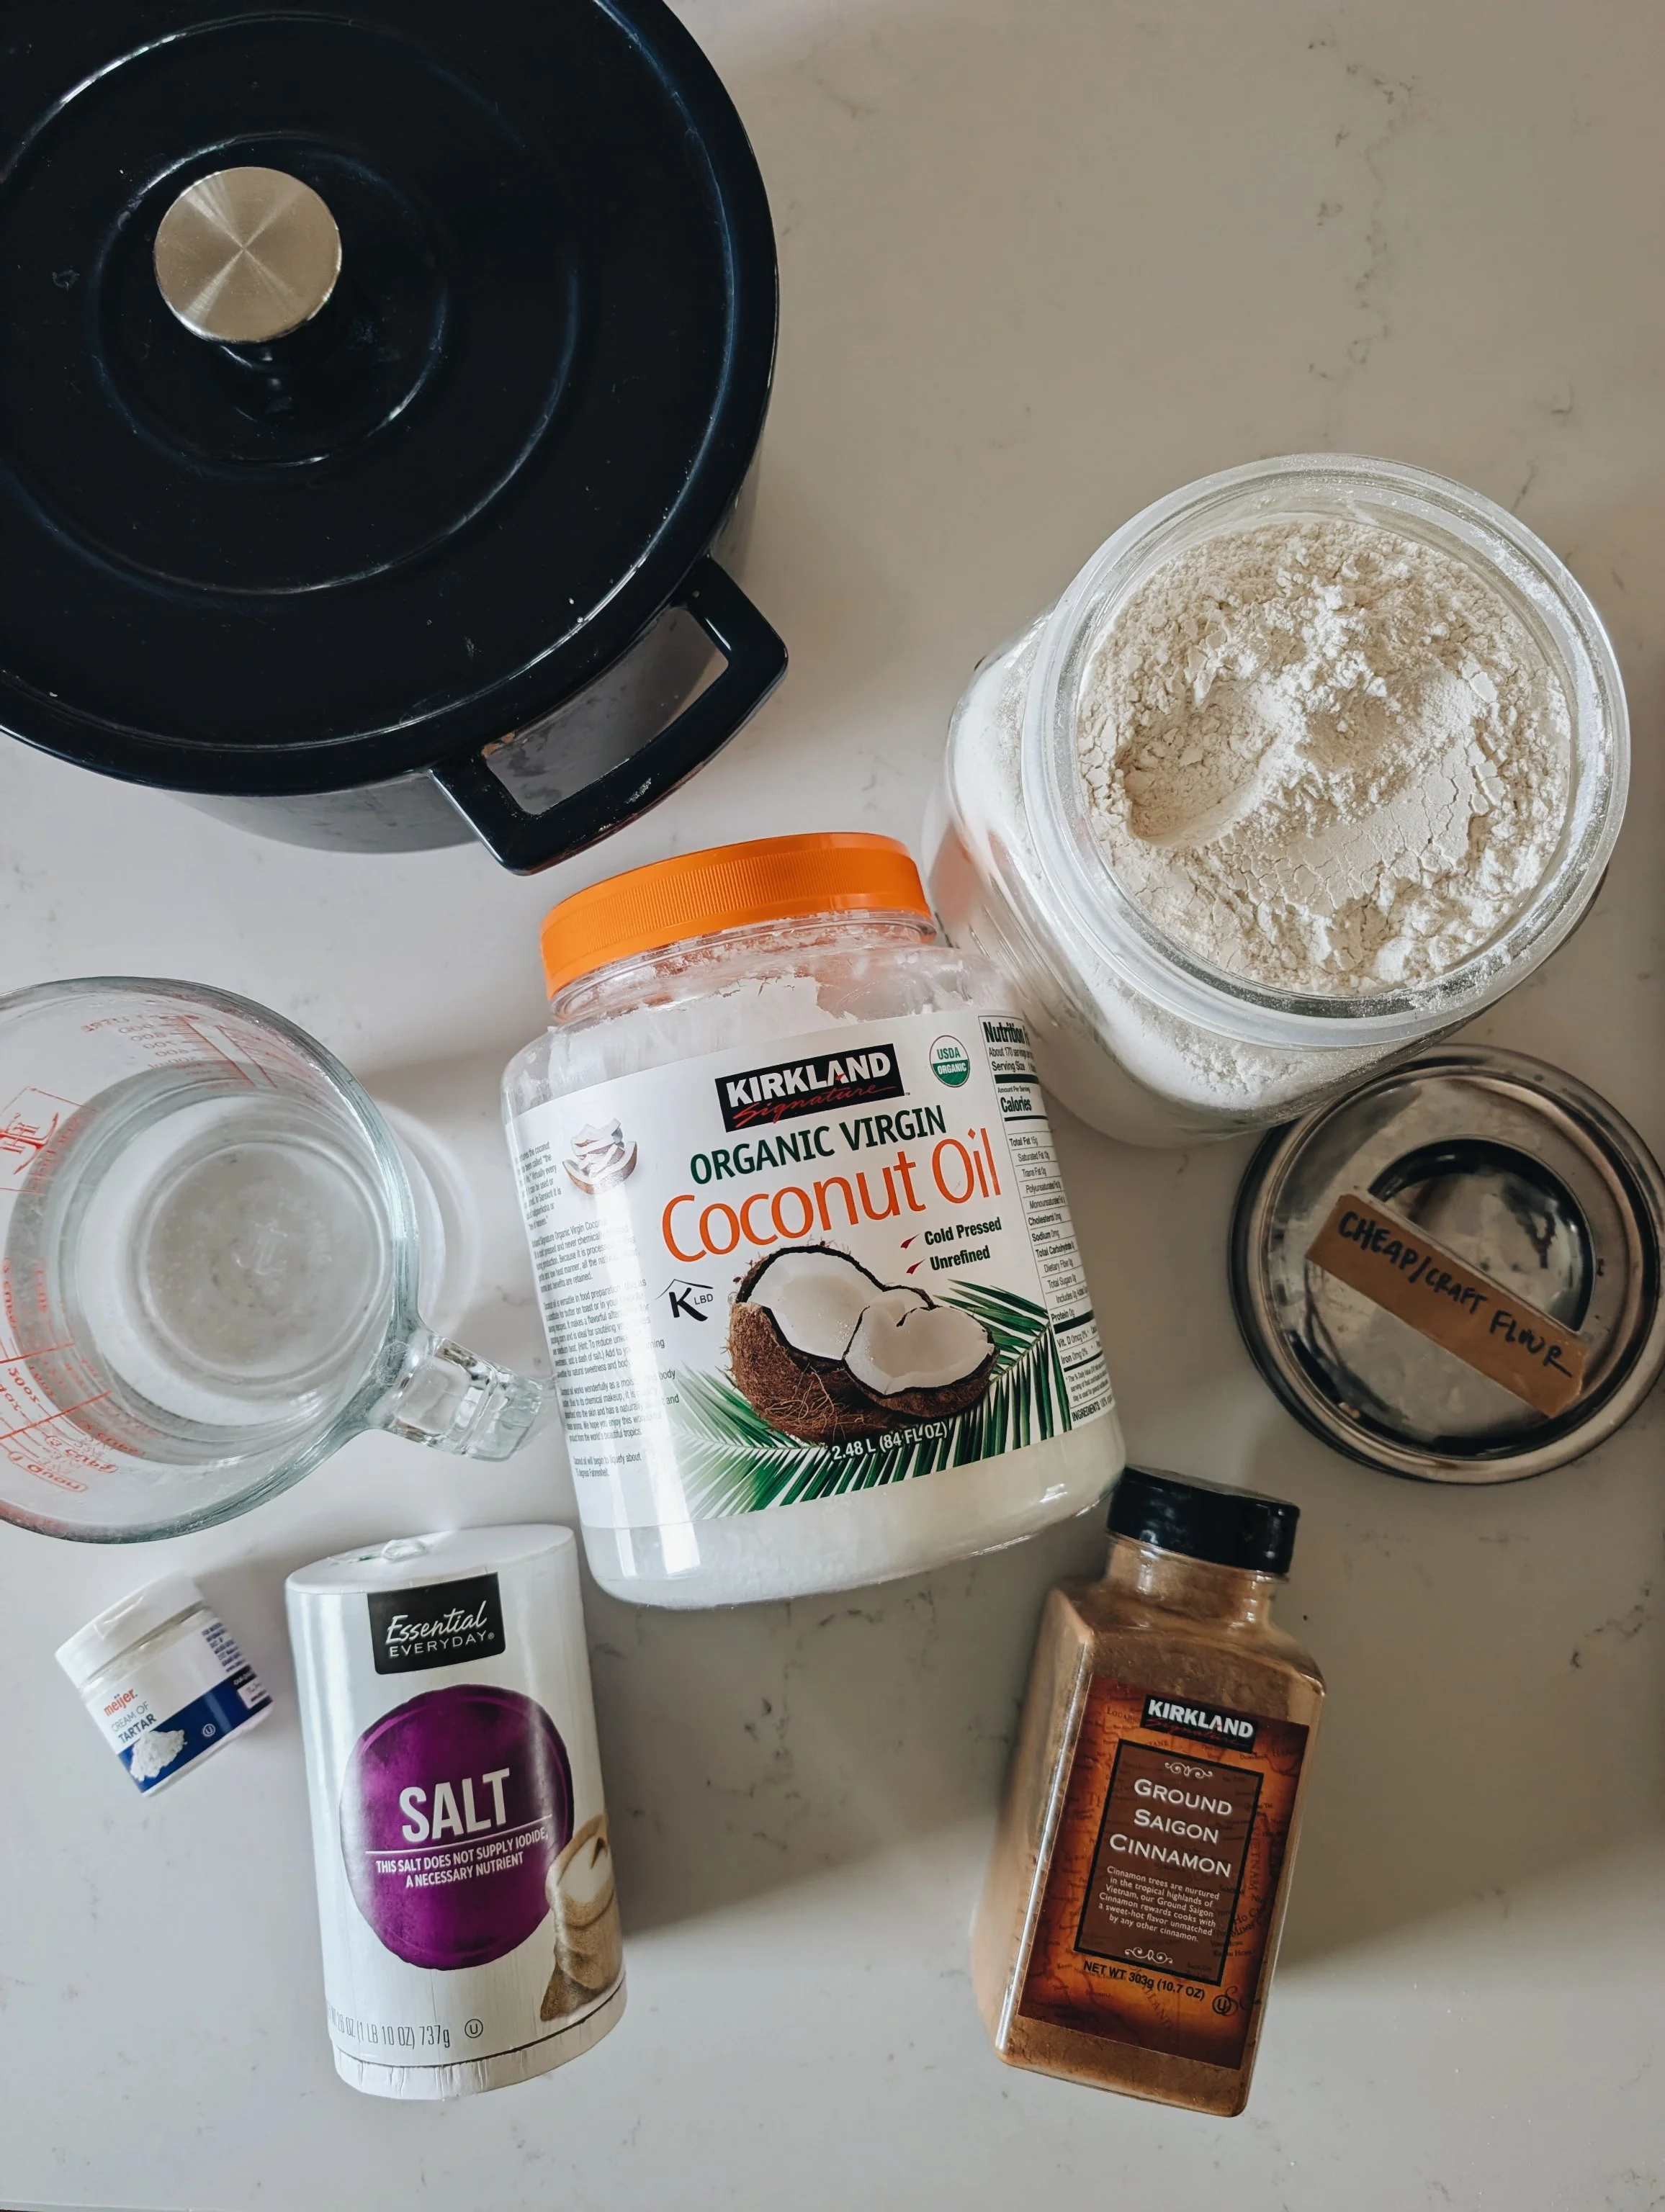
Ingredients
2c Flour
3/4c Salt
1/4c Cinnamon
3 teaspoons Cream of Tartar
2c Warm Water
1/4c Coconut Oil
Directions:
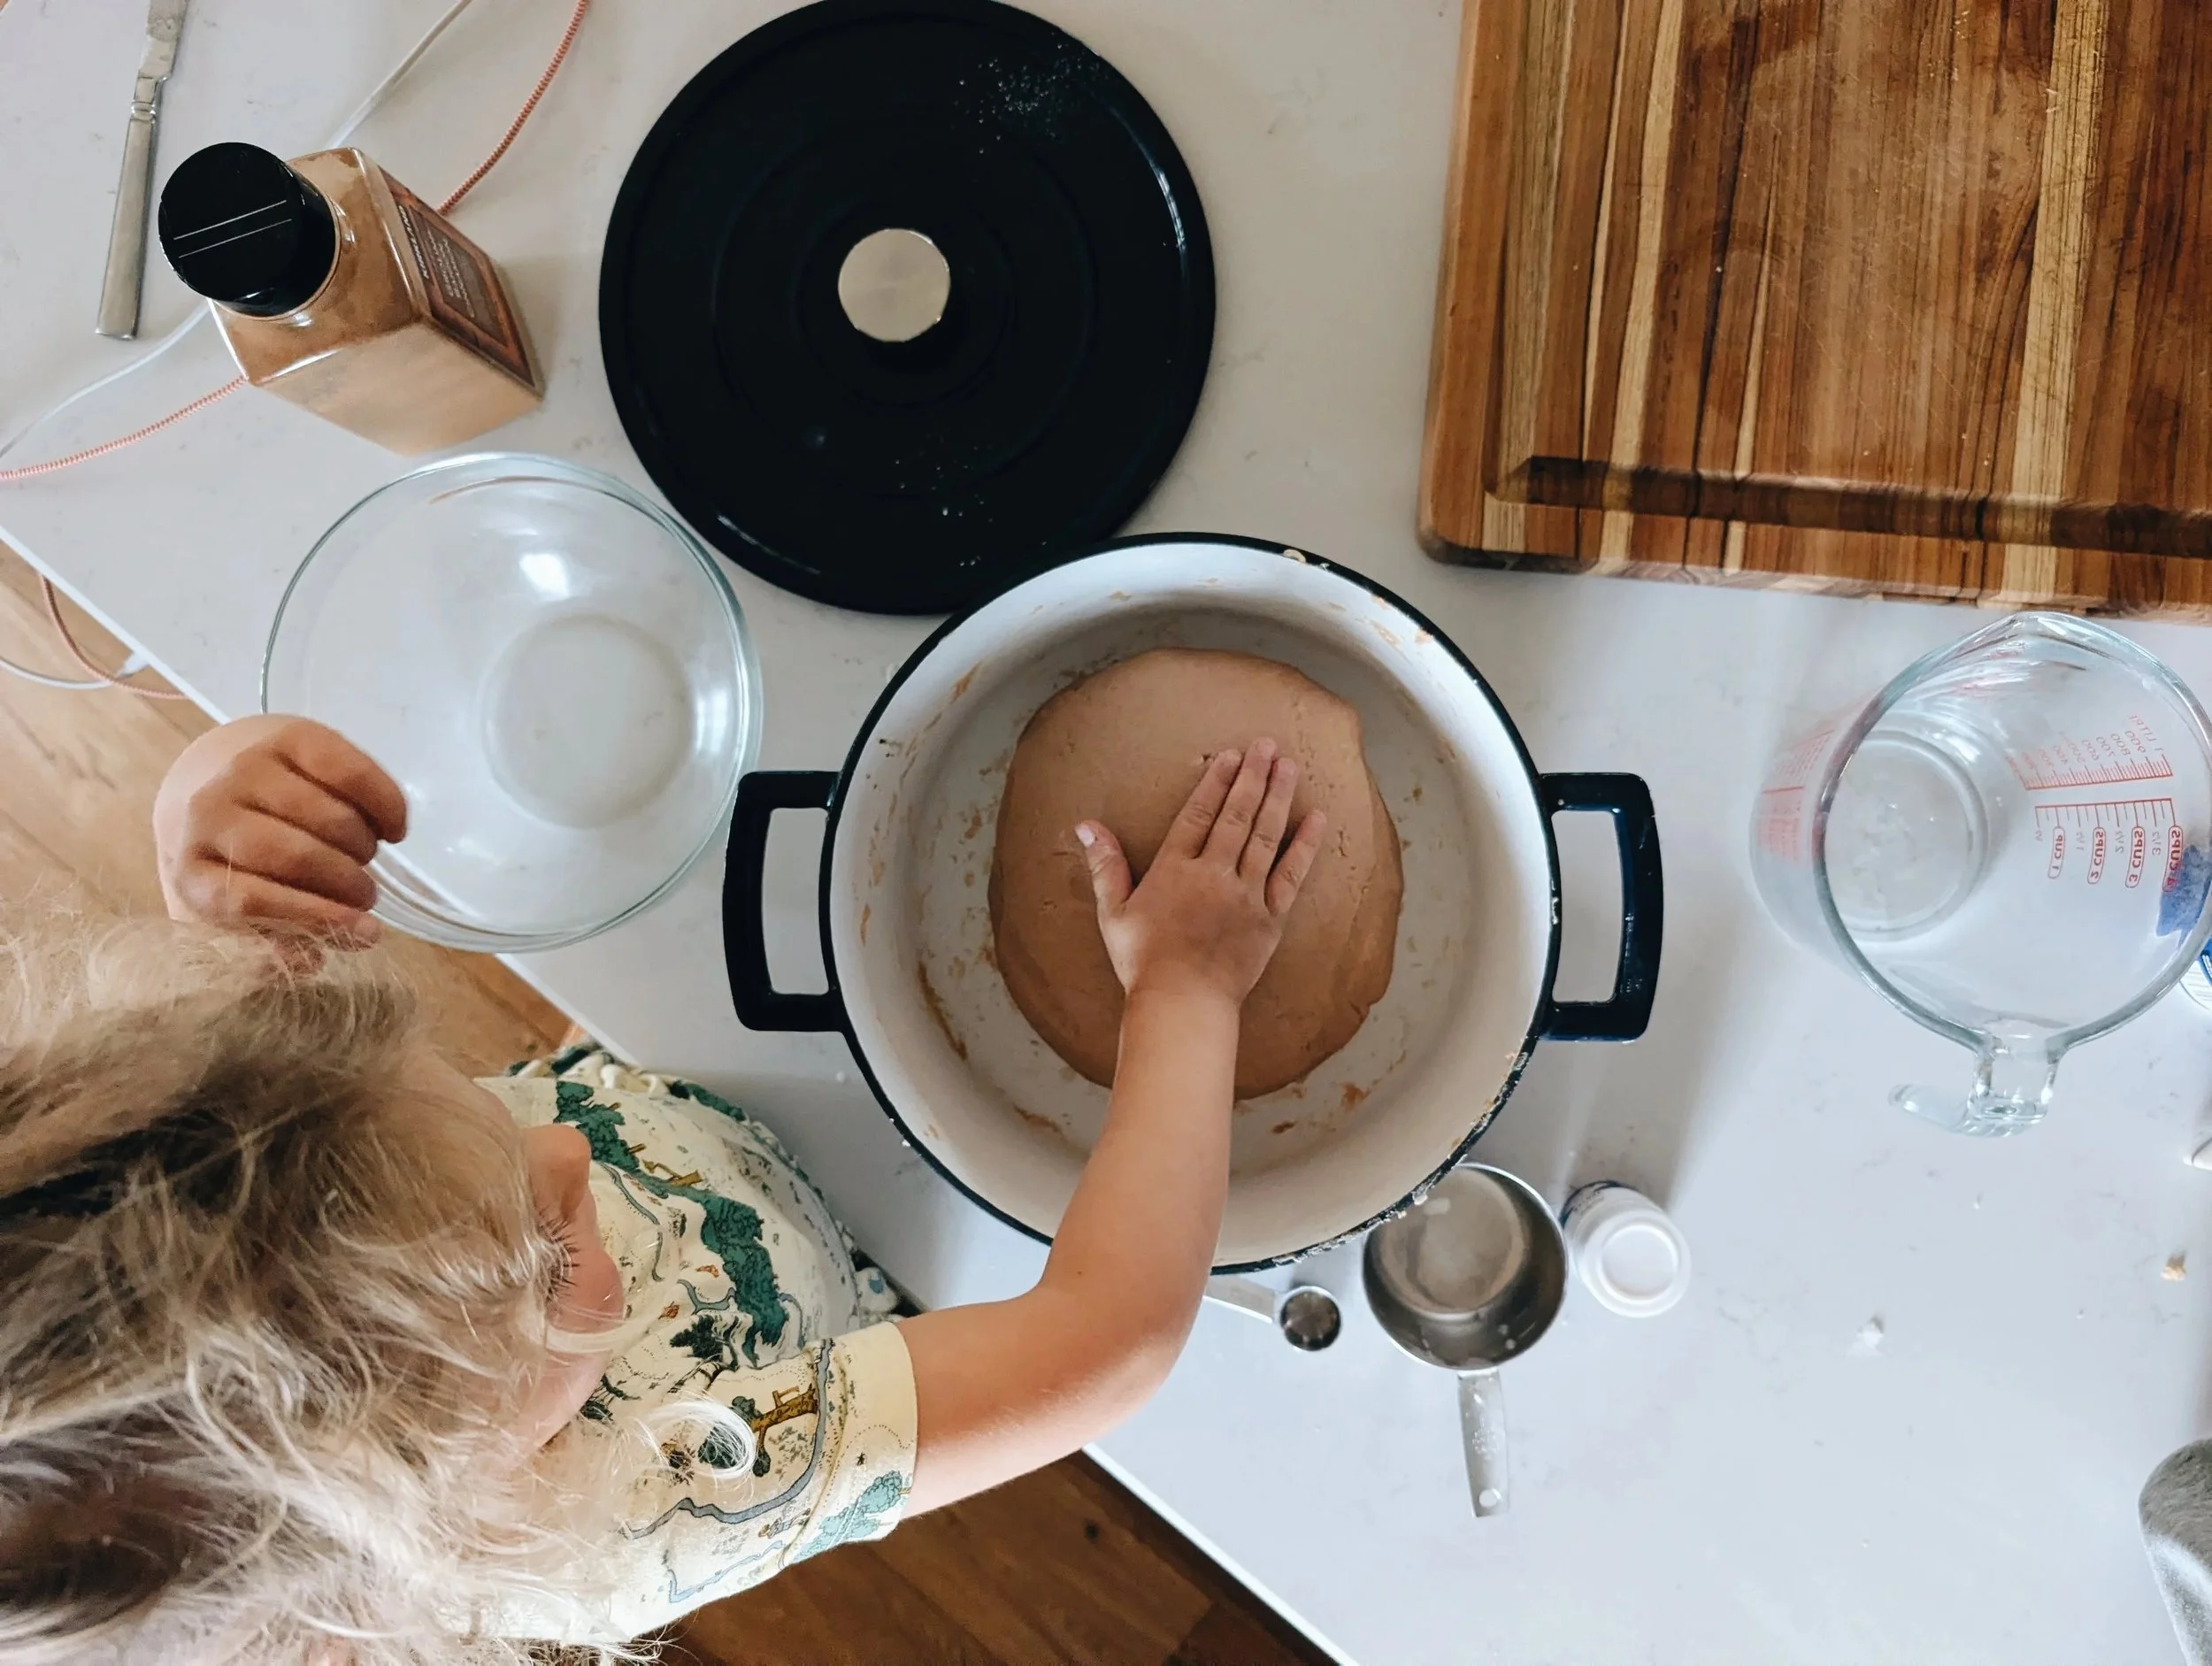
In a large pot, combine dry ingredients including flour, salt, cream of tartar and cinnamon. (Don’t worry, your pot won’t be ruined by this project - play-doh remnants are easily removed with warm water.)
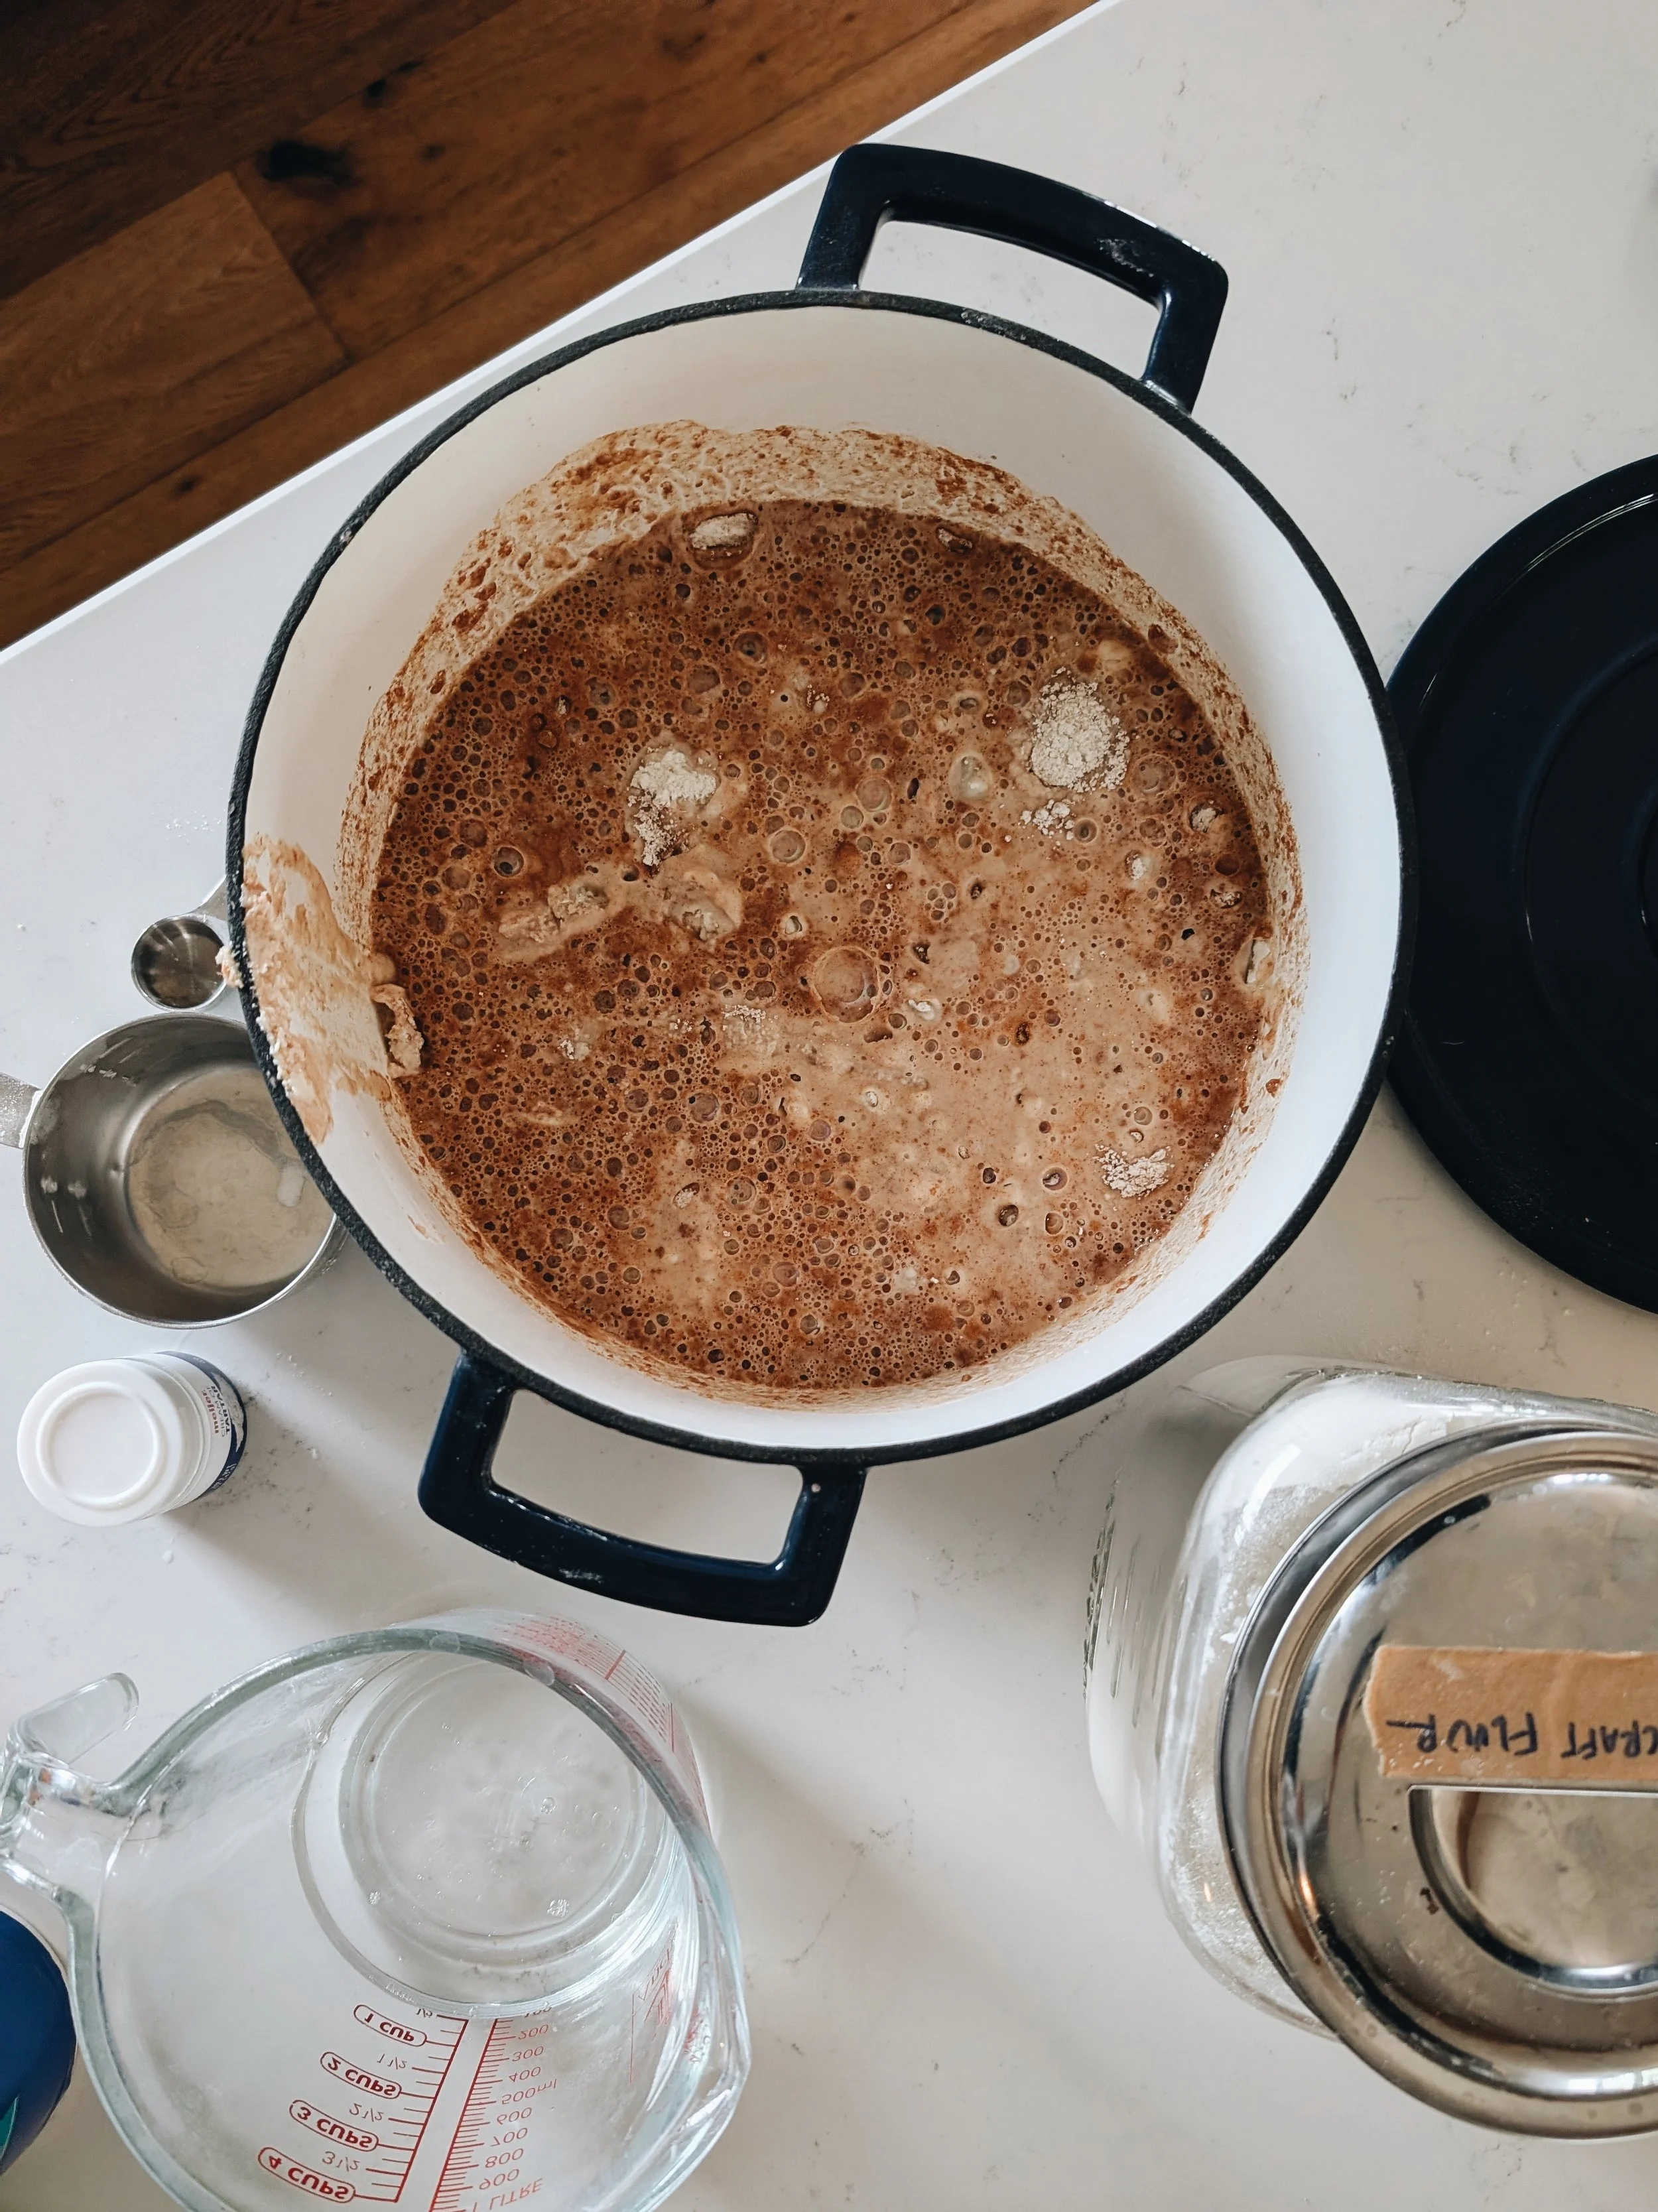
Add warm water and melted coconut oil to your dry ingredients. Stir until mixture is smooth and there are no dry pockets. Then place over low heat. (You can also add essential oil here if you prefer a stronger fragrance!)
As the pot heats, stir constantly. (I like a wooden spoon!) It will be thick and a bit difficult to stir - that’s okay! Aim to eliminate large lumps and scrape from the bottom.
As the mixture heats, it will begin to clump and thicken. When consistency matches that of Play-Doh, transfer to a large glass bowl.
Allow to cool a bit. Then, remove from the bowl and knead. This step will remove any lumps. (It’s the best part!)
Keep in an airtight container - ours lasts months!
Notes
I buy cheap flour especially for crafting. Don’t use your fancy stuff! Same goes for salt.
I’m a chronic recipe-doubler. I say go for it here! You can divide your batch and dye different colors. Or just have more on hand to play with!
Play-doh keeps very well in a Ziploc bag or airtight container.